Unlike many other opinions on my Eggbeater 4Ti run for years without any problems. I had now open every winter, thoroughly cleaned and lubricated and never had problems with the pedals. This winter was once a "great service" required that I have taken as a reason the whole thing in a small to-do record.
 | I have of Crankbrothers the rebuild kit ordered for the Eggbeater, some of which is relatively scarce because it will probably demand really often;) |
includes Kit each with 2 end caps (plastic), ball bearings, plain bearings, locking nuts and rubber gaskets. What I miss the point, the rubber O-ring that sits between bearings and sleeve, as in the De-/Montage quite happy to go over Jordan.
| original object was a pair of Eggbeater 4Ti older model that was last winter somewhat tuned. |  |
The lock nut on the axle was swapped for one of aluminum, as are the sleeve and the spring was replaced by a titanium spring. So do not worry if the above parts do not look exactly like yours.
 | It starts with the disassembly of the pedals. To do this, first from the end cap (take the broadest possible flathead) to come |
| to the underlying lock nut. To the axis of the screws that you need a 8mm socket | 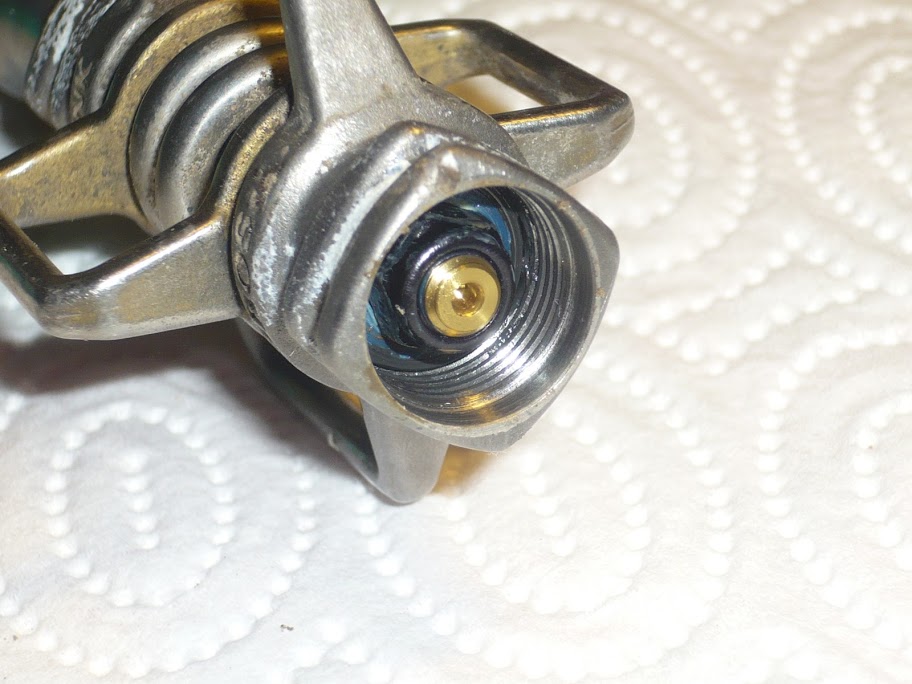 |
and stops of the axle with 8mm Allen wrench to. The mother is usually tightened with 3-5 Nm, so it is usually very easy to get down.
 | Now you can easily pull the axle out of the pedal body and can make to the dismantling of the same droplet. |
Next I removed the rubber insert that serves as a seal between the axle and pedal body and seals the great plain. This application you can just pry gently with a small screwdriver. This ensures easy removal that the part is not damaged during the further procedure (and the "great service" it is always replaced). If you have the small screwdriver just yet in your hand you can squeeze out the small ball bearings yet (which sits very loosely in the pedal body, so you really press lightly on the other hand must).
| Now you can with a big drill bit or Allen wrench on the plain side, carefully the sleeve from the pedal body presses | 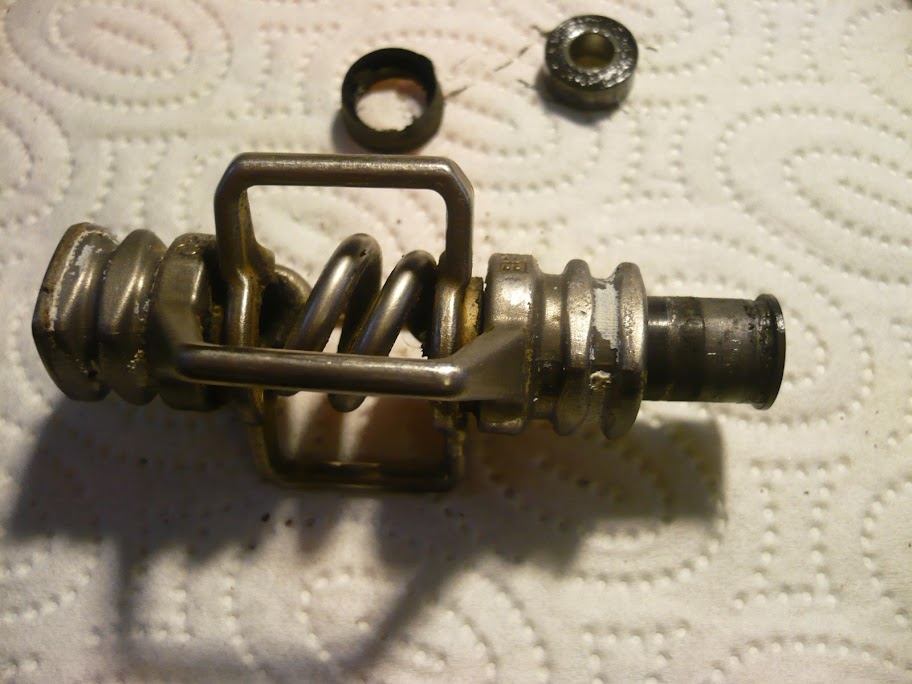 |
until it falls out on the other side. Subtracting now the drill / wrench out of the pedal body to fall against a spring and wing already.
 | worry now you have to nurnoch to the plain and the O-ring in the area of the sliding bearing. |
First, the O-ring: If he was stuck somewhere not to sleeve, spring and wing, he is probably still in the area from where the sleeve bearings in the pedal body sat. So look for just and secure a good piece.
On the upper picture you can sit the bearings in the pedal body. If one does not replace it, you can actually make it even where it is and just like that with clean and then re-greased. If you want to exchange it but you just press on the inside with a small screwdriver to the camp and can squeeze it relatively easy.
has now broken down to the whole pedal and hopefully all the parts together:

After cleaning and replacing the defective parts should then look something like this:

I have the bearings and replaced the rubber seal on both pedals, the ball bearing one, however, only because it went in the other is still clean.
goes after cleaning it so back to the assembly. This is on top quite quickly out of hand: Press in
plain:

use rubber seal:

- this should be the seal before the outside thin grease -
 | Now comes the more complicated part: the insertion of the wings, spring and sleeve. |
given you shall deal first leaf spring and above the picture (you can also be geared to the other pedal) and fixed the whole thing with a big wrench or a 10mm drill bit in the pedal body.
 | is fixed so the whole schonmal and aligned, so that the sleeve can now move from outside to inside the pedal body. |
Before that, one should grease on the outside but thin. Here you can re-election as an Allen wrench or a drill press to accept the sleeve all the way down. Has they sunk to the stop in the pedal body pushes one of them the other side a very, very small piece out to use the O-ring yet. This has turned out with me as the best way to the ring so as not crushed during the pressing of the sleeve. With a straightened paper clip to get the little guy used very well and must then only new items, press the sleeve altogether.
The rest is really again a breeze to use
Bearings: Grease

axis and insert:

And finally nurnoch Unscrew the end cap uuuuunnnnnddddd .......

DONE!
0 comments:
Post a Comment